How to Dual Boot Windows 8 and Windows 7
May 4th, 2014 by Rossy GuideIntroduction and Tutorial:
If you have a Windows 7 PC but aren’t sure you’re ready to upgrade to Windows 8 yet, a dual-boot system might be a good way to ease into it. This will let you use both operating systems, side-by-side, until you’re comfortable enough with Windows 8 to go all in. To configure your PC for dual-boot, all you have to do is creating a new partition for Windows 8, and then install it.
Since the Windows 8 Developer Preview hit the streets back in September 2011, I’ve written a bunch of articles on the new operating system covering such topics as the improved Windows Explorer, Windows 8 shortcut keys, Storages Spaces, and File History, just to name a few. However, I was recently reminded that there is one topic that I haven’t covered for Windows 8 and that is how to set up a dual boot machine.
Caution: Before you begin, make sure to back up your system. This is a simple procedure, but there’s always a risk of data loss whenever you modify disk partitions. If you have Norton Ghost or Acronis True Image handy, cloning your drive/partition is probably the best way to recover from any problems you might run into.
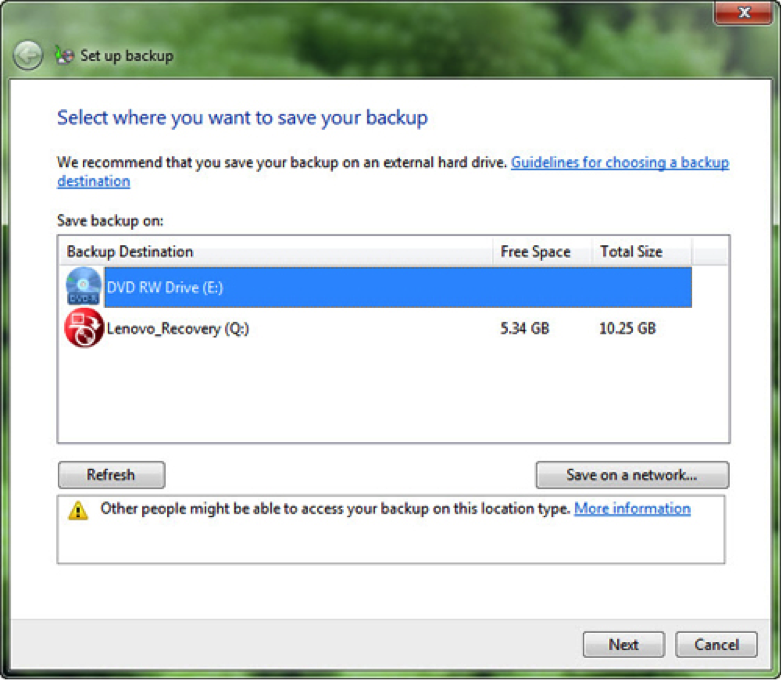
Step 1: Back Up:
Before you attempt this, however, you should back up your existing Windows PC. You never know what will happen when installing a new OS. At least back up all your photos, videos, and documents. A complete image backup of your hard disk is preferable, however. Windows 7 has a built-in backup feature to secure your data files, but for image backup, you’ll need third-party software such as, our Editors’ Choice.
Step 2: Create new partition in Windows 7:
o In Windows 7, hit the shortcut Win+R, then type “diskmgmt.msc” to start Disk Management.
o To make room for Windows 8, you first need to shrink the C: volume. In Disk Management, right-click on your hard drive and select Shrink Volume, then choose how much space to shrink.

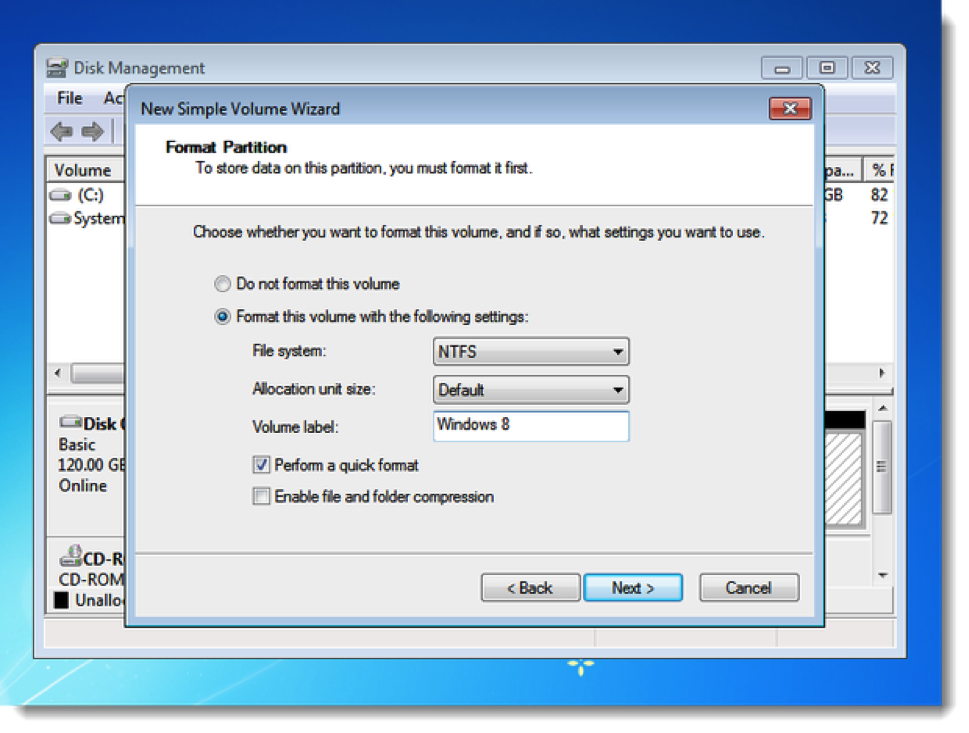
o Once the shrink task has completed right-click on the unallocated partition, then select New Simple Volume. Go through the New Simple Volume Wizard and make sure to format the new partition in NTFS and give it a volume label, like Windows 8.
Step 3: Install Windows 8:
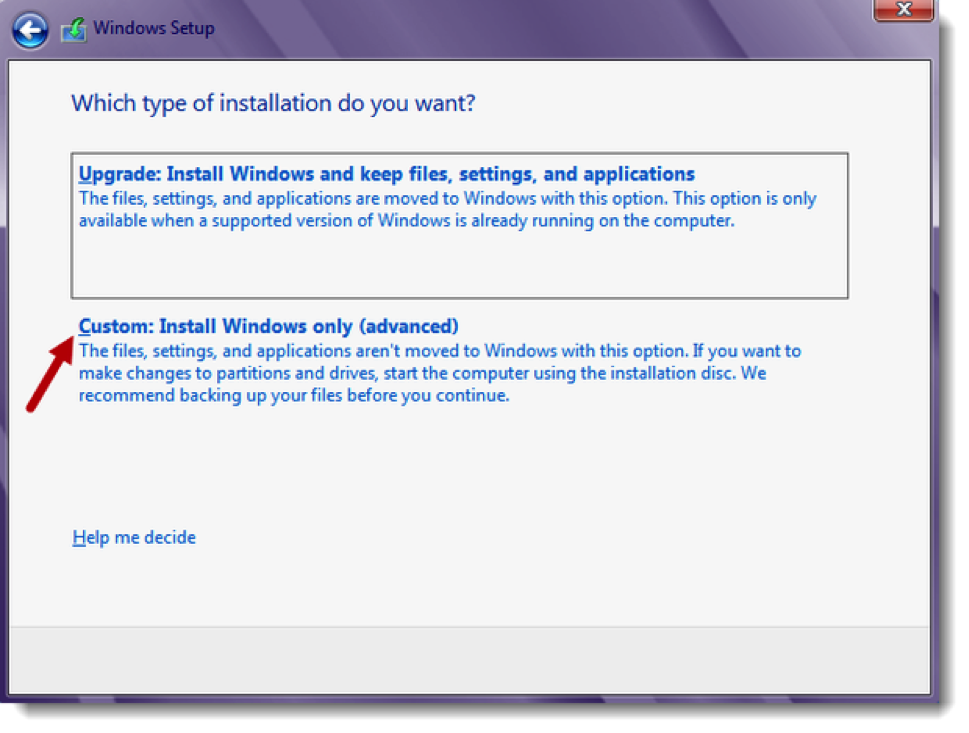
o Insert a bootable Windows 8 DVD or USB flash drive into your PC, and then reboot it to begin Windows 8 installation.
o When prompted to choose the type of installation, choose Custom.
o For the location of your Windows 8 install, select the new partition you created.
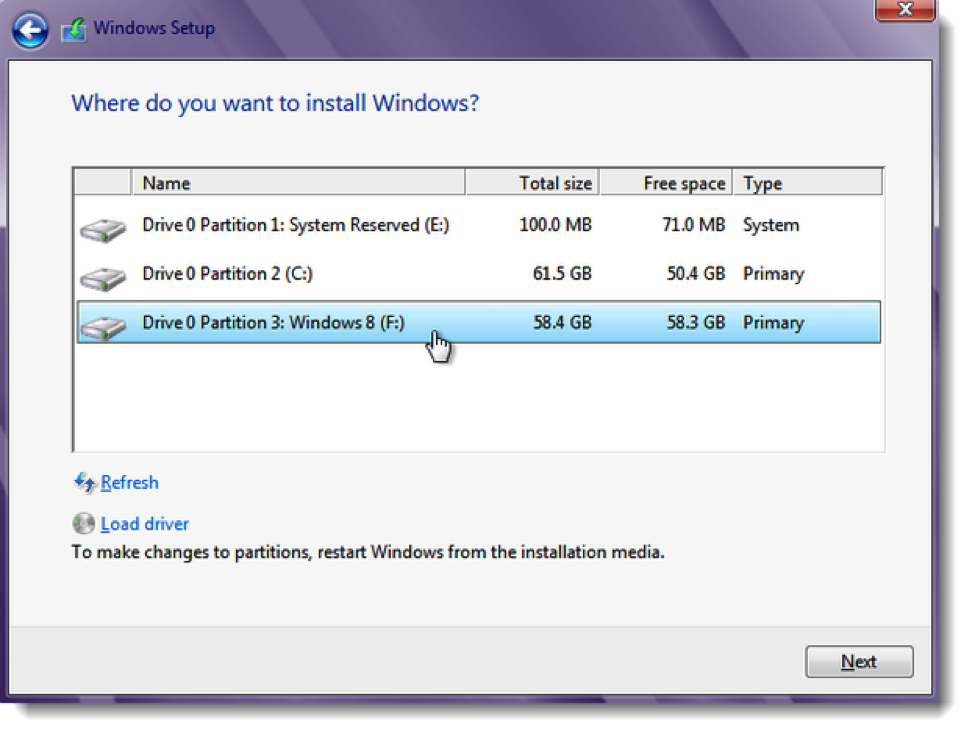
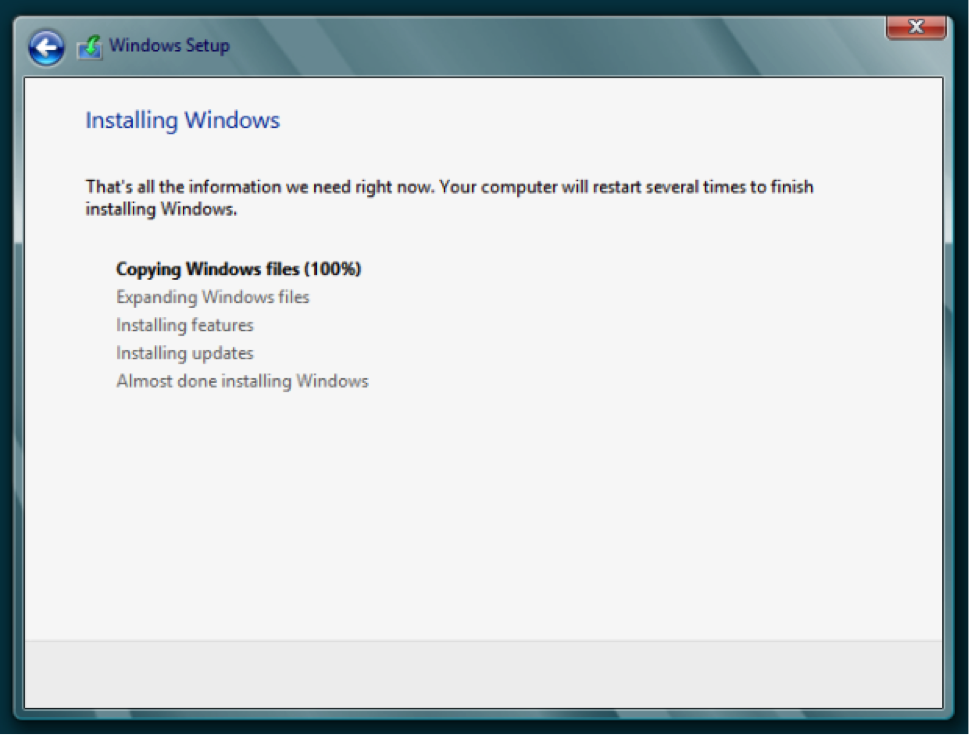
o After selecting the new partition on which to install Windows 8 and clicking next, the installation will begin, as below.
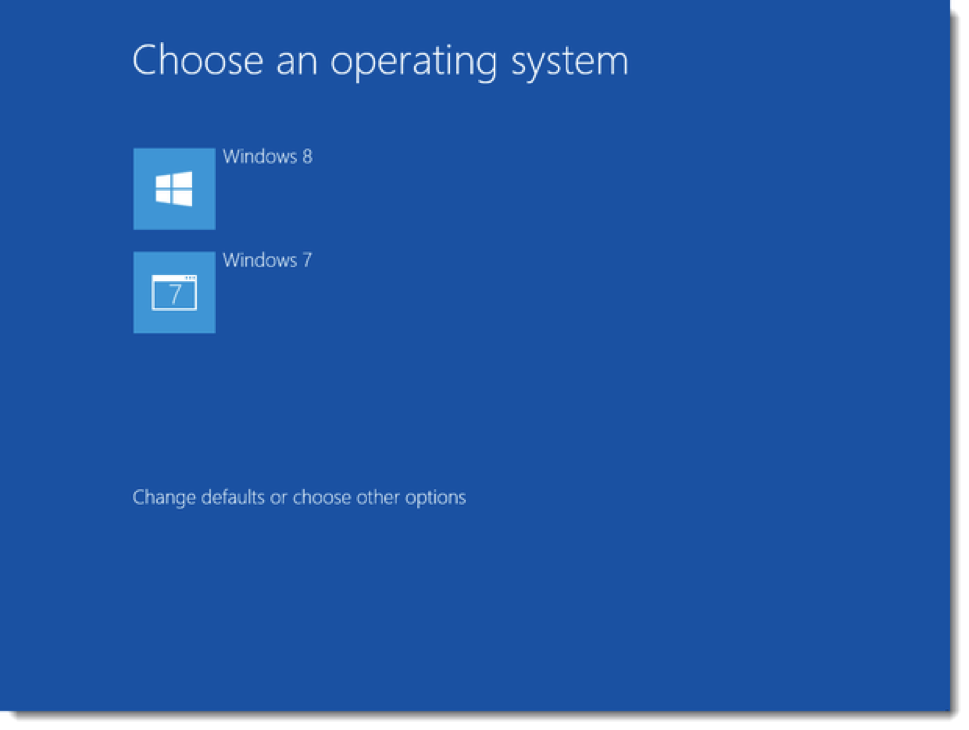
Step 4: Dual-booting Windows 7/Windows 8:
Once Windows 8 finishes installing, the boot menu will appear with both Windows 8 and Windows 7. By default, Windows 8 will start automatically after 30 seconds, but you can set Windows 7 as the default by clicking on “Change defaults or choose other options” from the boot menu.