How to Format an External Hard Drive
April 17th, 2014 by Rossy GuideTutorial:
Formatting a hard drive or flash drive will erase the contents and set up a file structure so that it can be accessed on your computer. You might need to format if you get a drive that isn’t compatible with your computer. Follow these steps to format your external for any operating system.
Method 1: Windows:
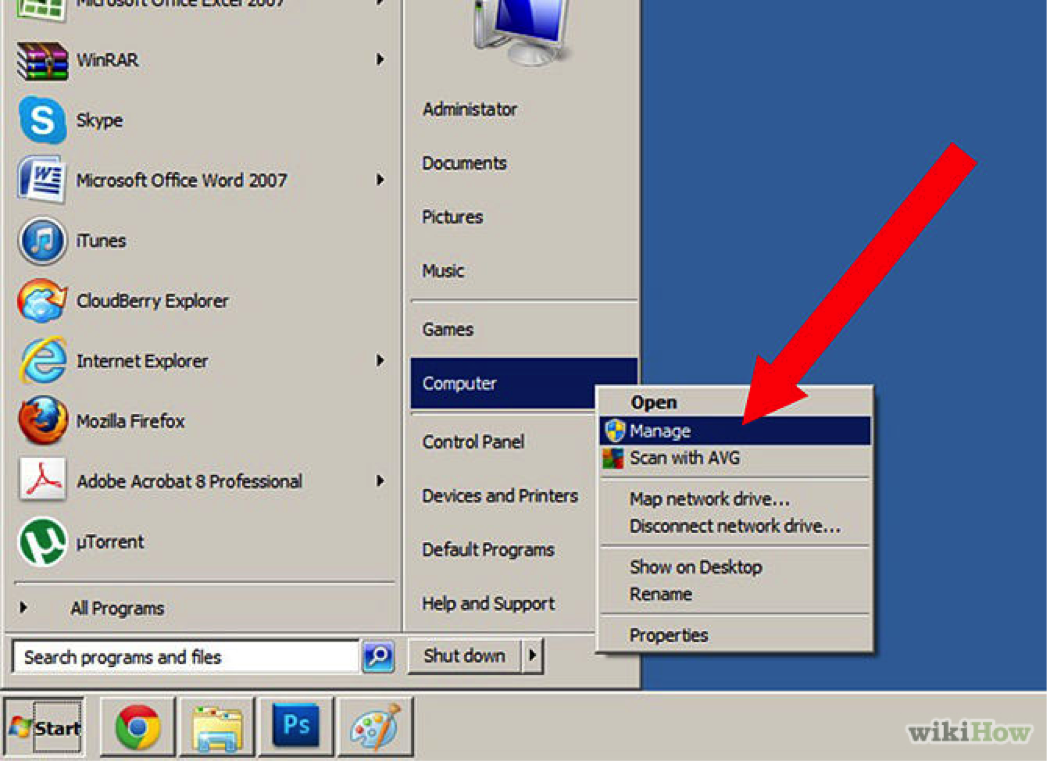
1. Open Computer Management.
o Click on the Start button and right-click on Computer or My Computer.
o Select Manage from the right-click menu.
Windows 8 Users can skip directly to the Disk Management utility by pressing the Windows and X keys on the keyboard. This will open the Power Users menu. Select Disk Management from this menu.
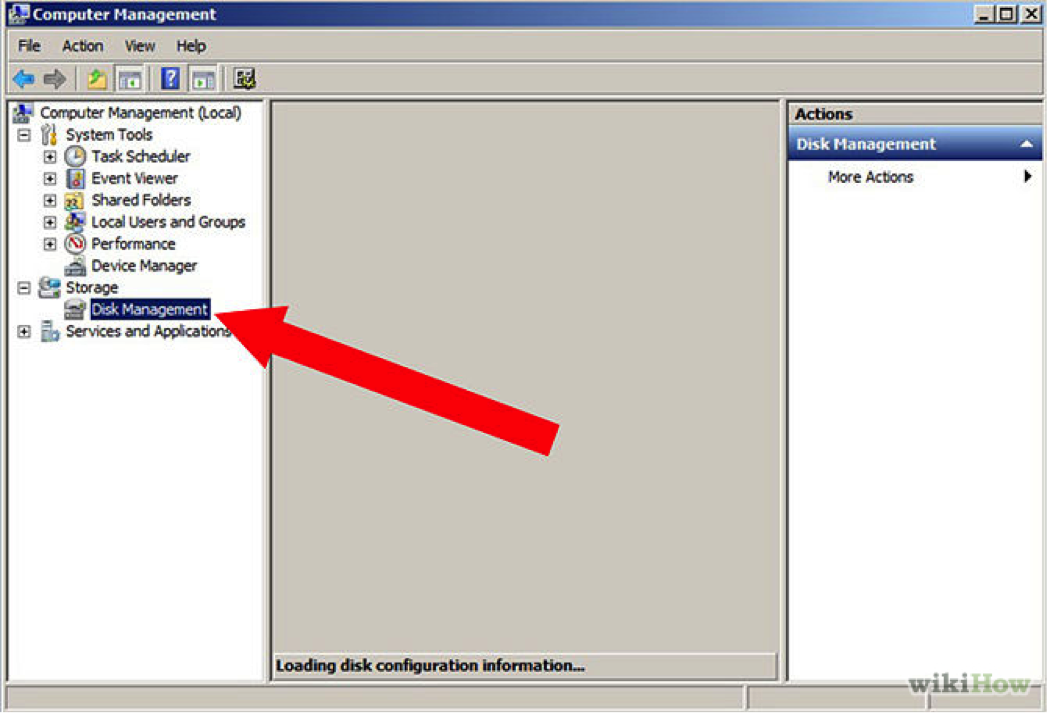
2. Select Disk Management.
o This is located in the left frame, listed underneath Storage.
o When you click Disk Management, your connected drives will be displayed in the center frame.
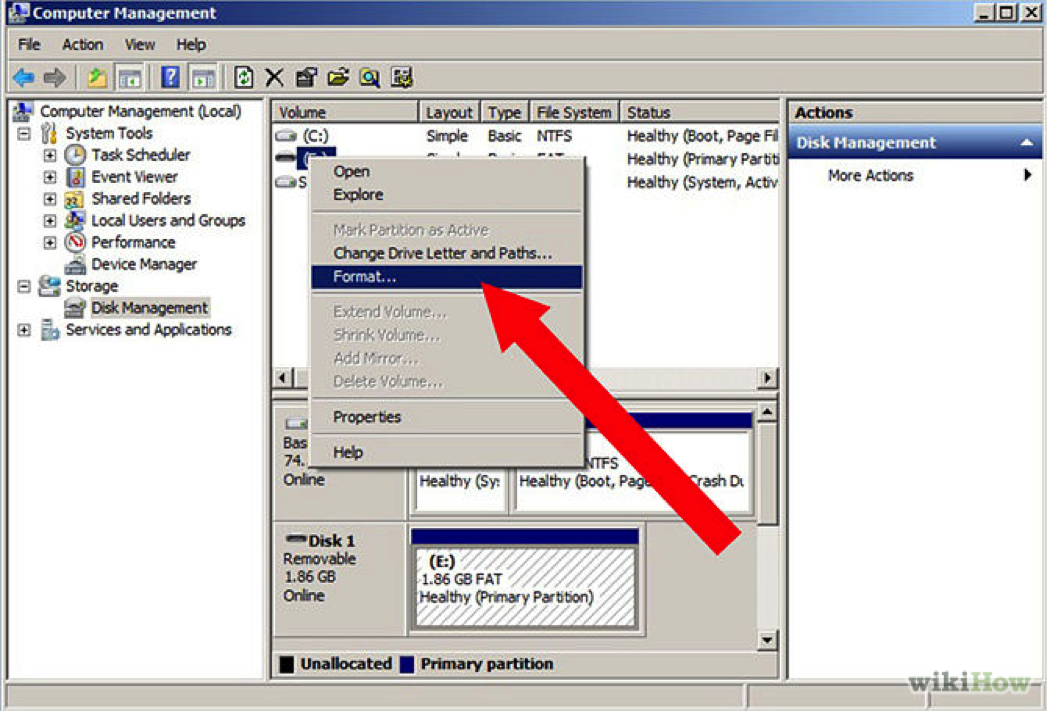
3. Right-click the drive you want to format.
o From the right-click menu, select Format.
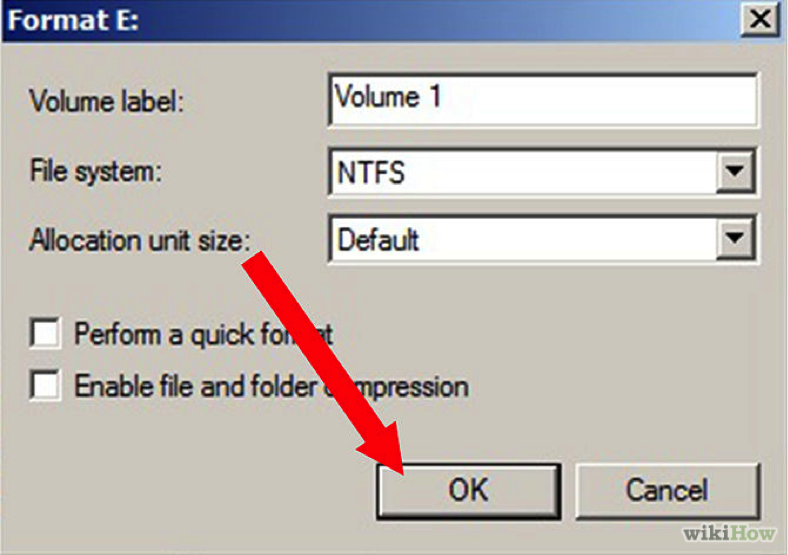
o Enter a name for the drive.
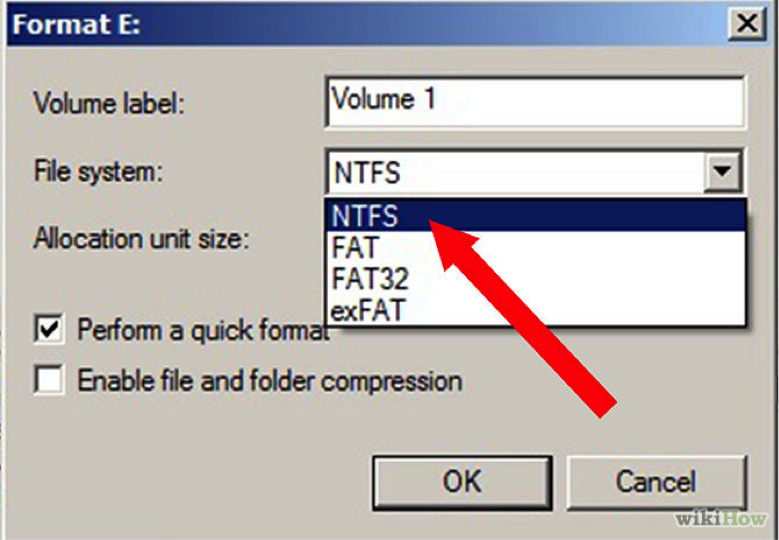
4. Select the File System.
o From NTFS is the standard for Windows computers, and if you are only using the drive with Windows, you should pick this. If you are planning on using the drive on both Windows and Mac, select exFAT.
o Do not select “Perform a quick format” as it will not efficiently erase all the previous data.
5. Click OK.
o You will be asked to confirm. After confirmation, your drive will begin formatting. The length of time required depends on the size.
Method 2: Mac OS X
1. Connect your external hard drive. You can connect your drive through USB, Firewire, or Thunderbolt. Depending on whether or not it is formatted already, your drive may appear on the desktop. You can ignore it for the moment.
2. Open Disk Utility. You can get to the Disk Utility in the Utilities folder under Applications.
3. Select the external drive. You can see a list of your connected drives in the left frame of Disk Utility. Click the drive.
4. Click the Erase tab. From the Format menu, select “Mac OS Extended”. Enter a name for the drive. You can change this name at any time.
5. Click Erase. A window will open asking you to confirm. After confirmation, the format process will begin. The time it will take is dependent on the size of your drive. Larger drives take longer to format.
Method 3: Linux
1. Install GParted. This is a free utility available on all Linux distributions. You can install it by opening the Terminal and typing “sudo apt-get install gparted ntfsprogs”.
2. Connect your disk drive. Linux should mount the drive automatically. You will need to unmount it before you can format. Right click on the disk icon on your desktop and click “Unmount volume.”
3. Open the Partition Editor. This can be found in System/Administration. Click the drive selection box in the top-right of the window and select the external drive from the list.
4. Format the drive. Right-click the drive in the main window. Select “Format to” and then select the format that you want to make the drive. NTFS can be read in Windows, Fat32 can be read in any operating system, and ext3 is Linux only.